UV Glue is a transparent adhesive that is easily activated with any UV light source. It’s commonly used in resin sculpting, but it can also be found on certain kinds of jewelry. UV glue is great for its ability to stick two pieces together permanently.
However, if you ever need to separate the two parts, it can become a nightmare to try and break apart. Are you looking for methods to dissolve UV glue? if yes this article will tell you the methods of how to dissolve UV glue.
Contents
- 1 Benefits Of Dissolving UV Glue
- 2 Methods Of How To Dissolve UV Glue
- 2.1 1.Heating Method
- 2.2 2. Soak The Glue
- 2.3 3. Dissolve The Glue With Acetone Or Nail Polish Remover
- 2.4 4. Dissolve The Glue With A Solvent
- 2.5 5. Dissolve The Glue With Soap And Water
- 2.6 1. How Do You Remove Cured UV Glue
- 2.7 2. How To Dissolve Cured Glue
- 2.8 3. How Do You Remove UV Tempered Glass Glue
- 3 How To Dissolve UV Glue – Conclusion
Benefits Of Dissolving UV Glue
Following are the benefits of dissolving UV glue. So, let’s discuss them.
1. Less Mess
Removing the glue with a solvent or soap is a messy process that involves a brush, and scrubbing. Dissolving the glue is a very clean process. The only requirement is to immerse the pieces in room temperature water for 1 to 2 hours, and they can be easily pried apart with tweezers or forceps when finished.
2. Less Work
If you need to separate multiple resin pieces like small skulls, it’s nice not having to worry about residual glue sticking to the resin while you try and detach them. When you dissolve the glue, it sticks only to the resin so it’s not impossible to get off your hands or tools.
3. Avoiding Scars And Residue
When UV glue is dissolved, none of the adhesives remains on the surface of the resin. Removing the glue takes little effort, and results in a clean finish. In contrast, removing glued pieces from a resin kit can take more effort and time. The adhesive material is usually very sticky and can require more work to remove completely.
Reference Video – 5 Ways To Get Bubbles Out Of Resin
4. Removing Glue Can Make Resin Warmer

Resin is typically very difficult to work with when it’s cold. Dissolving UV glue can make resin warmer, which makes it easier to work with, and gives the model a smoother surface once cured.
5. Less Risk Of Cracking
Resin is very hard, but if you detach resin that has glue on it while trying to avoid stress marks, over time this can lead to cracks. Dissolving the glue reduces the risk of cracking during removal by avoiding unnecessary handling.
6. Save Your Piece
When you drip the solvent onto your resin, it will seep into small cracks, slowly dissolving your piece atom by atom. Not to mention all the bubbles. Since heat is used to dissolve the glue, there is no mess or cleanup involved.
7. Save Your Resin
Many resins will become cloudy and even crumble after prolonged exposure to some solvents and soap solutions. Heat won’t do this; it’s gentle and keeps your resin safe.
8. Save Yourself
The fumes from most solvents and soap solutions can be harmful to your eyes and skin. Heat is not toxic; it’s completely safe.
9. Save Your Wallet
Saves time (and energy). No more scrubbing with a brush for 30 minutes before you get started working on the next piece.
10. Save The Environment
Saves the environment. No more putting solvent down a drain because it will seep into groundwater and contribute to pollution of our water supply. Also, no more solvent cans in the garbage dump that end up in landfills or poison our oceans from illegal dumping.
Methods Of How To Dissolve UV Glue
The following are the methods of how to dissolve UV glue. So, let’s discuss them.
1.Heating Method
This method is mostly used to dissolve the UV glue.
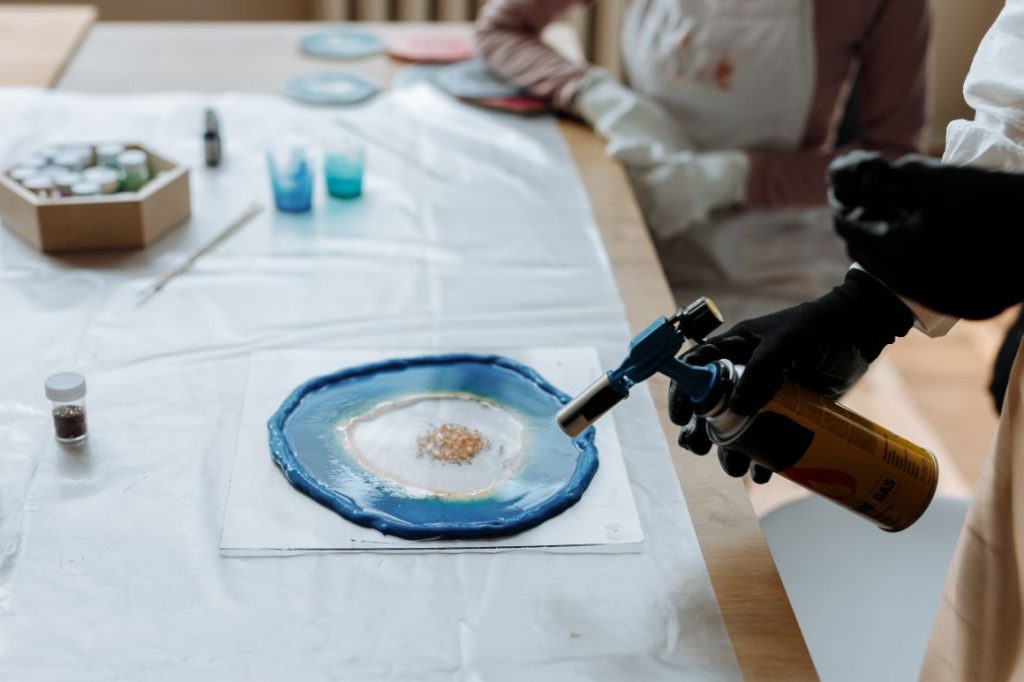
· Apply Heat From A Lighter Or Torch
Slowly wave a lighter or torch (I prefer a flame-like this because it’s easier to control) over the glue until it bubbles up and begins to break down, making sure not to burn it.
· Remove The Bubble
Once the glue has been removed, clean away the bubbles with a cotton swab or cotton swap thing as usual.
· Let Dry In A Safe Place
Make sure to let your piece dry in the safe place you picked out for it earlier before moving on to any other processes. If you plan on painting your resin, put a small ball of foil inside the paint area you plan on using so that the solvent doesn’t dissolve the glue underneath.
· Clean Up The Glue Residue
While your piece is drying, it’s a good time to clean up any glue residue left behind from dissolving with heat. Use a cotton swab or something similar to remove it.
· Seal Resin Piece
After the glue residue has been cleaned off, you can seal your piece in a colorless curing agent or acrylic paint to protect it from dirt and dust while working on it again later before painting.
2. Soak The Glue
This method is typically used to separate multiple resin pieces like small skulls. First, prepare a large container full of room temperature water. Submerge the resin pieces in water for 1 hour or more to let the glue dissolve. Use tweezers or forceps to pry apart the pieces. Then, wash the resin pieces with soap and water to remove any remaining glue debris.
3. Dissolve The Glue With Acetone Or Nail Polish Remover
This method is not recommended because acetone can dissolve your resin too! Any solvent will work fine for this method though. Just drip it slowly onto your encased resin and watch it dissolve. Use tweezers to pry apart your pieces when the glue is no longer sticky. Be careful not to drip any of this on yourself because it can cause skin irritation or even burns if left on for too long.
4. Dissolve The Glue With A Solvent
This method is great for removing multiple resin pieces. Prepare a container of solvent (turpentine, paint thinner, mineral spirits, etc.). Simply place your resin pieces in the container and submerge them for about 15 minutes or more. Use tweezers to pry apart your resin pieces when they are no longer sticky to the touch. Use soap and water to clean off any remaining glue debris.
5. Dissolve The Glue With Soap And Water
Grab a spray bottle and fill it with soapy water, then spray down your resin piece. Scrub gently with a toothbrush to assist in the dissolving process. Then, use tweezers or forceps to pry apart your pieces when they are no longer sticky.
1. How Do You Remove Cured UV Glue
You can remove cured UV glue by using a solvent or adhesive remover made for acrylics that are safe to use on your resin. Just like with dissolving, apply it with a cotton swab and wipe away as needed until the glue is no longer visible.
2. How To Dissolve Cured Glue
You can dissolve cured glue by applying heat to it until the glue has melted away. Just like dissolving, you’ll need a heat source like a heating pad or hot water that’s safe to use on your resin if needed. You can also apply an adhesive remover made for acrylics with a cotton swab if it doesn’t melt completely.
3. How Do You Remove UV Tempered Glass Glue
You can remove UV tempered glass glue by using a solvent or adhesive remover made for acrylics that are safe to use on your resin. Just like with dissolving, apply it with a cotton swab and wipe away as needed until the glue is no longer visible.
How To Dissolve UV Glue – Conclusion
Dissolving UV glue isn’t that difficult if you know what to use, since several methods can be used. When it comes down to the best way to dissolve your UV glue, all of it is up to you and your preferences. Just make sure not to burn the resin or get any solvent on your skin/eyes by following the precautions.
References
- https://askinglot.com/how-do-you-dissolve-loca-glue
- http://m.nenlock.com/en/industryinformation/37-71.html
- https://ecolink.com/info/what-will-dissolve-resin/

I fell in love with crafts & fixing things when I was 11 years old – after discovering the world of blogging, I am combining my passions to present the world with well-researched guides & reviews about everything related to adhesives & glue.