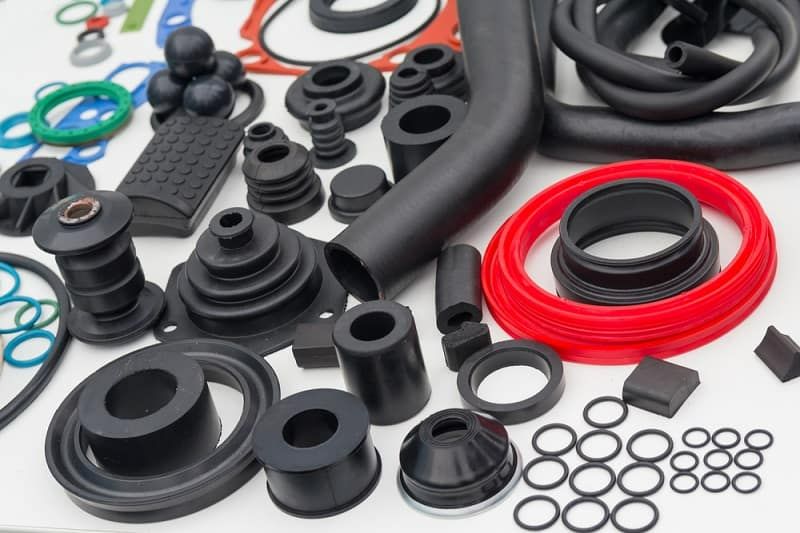
Do you have a project in need of an adhesive that can hold rubber firmly to rubber surfaces? You may think finding the right glue for this particular job is a difficult task, but it doesn’t have to be!
Today we’ll show you all the steps you’ll need on how to properly glue rubber to rubber. With our tips and easy-to-follow instructions, you’ll be able to complete your project with no hassle – and achieve excellent results at the same time.
Contents
- 1 How to Glue Rubber to Rubber? 6 Steps to Follow
- 2 6 Different Types of Rubber and the Glues Used for Them
- 3 List of Best Glue Brands to Bond Rubber to Rubber
- 4
- 5 Health Hazards When Gluing Rubber to Rubber
- 6 Important Precautionary Measure When Gluing Rubber to Rubber
- 7 FAQS
- 8 1. Is rubber glue waterproof?
- 9 2. Is rubber glue flammable?
- 10 3. How long should I wait before applying pressure to the rubber?
- 11 4. How should I prepare the rubber before gluing?
- 12 5. What type of adhesive should I use to glue rubber to rubber?
- 13 Conclusion
How to Glue Rubber to Rubber? 6 Steps to Follow
As you are looking for the best way to glue two rubber objects together, you’ve come to the right place! Here are 6 simple steps on how to glue rubber to rubber.

1. Prepare the Surface of Both Parts
Rubbing alcohol or acetone is usually enough to clean and degrease the surface of your pieces before gluing them. Make sure you remove any dirt, oil, dust, rust, or other contaminants that could interfere with the adhesion of the rubber glue.
2. Determine the Right Adhesive for Your Project
There are several types of rubber adhesives available in stores; epoxy-based adhesives are a popular choice but polyurethane-based products may also be suitable. Make sure you read the instructions and warnings of the product before using it.
3. Apply Glue to Both Surfaces
Using a brush or an applicator, spread a thin layer of adhesive onto both surfaces where they will join together. Too much glue may cause it to ooze out from between your pieces when curing and can affect the adhesion process.
4. Assemble Your Parts
Put the two rubber objects together; use clamps or other tools to hold them in place while the adhesive dries. Be careful not to move them around too much or apply too much pressure as this could interfere with how well the rubber bond holds up over time.
5. Allow the Glue to Cure
Depending on the type of adhesive, it may take anywhere from a few minutes to several hours for the bond to set. Refer to the product instructions or label for curing time and temperature requirements.
6. Test Your Bond
After allowing enough time for the glue to dry, test your bond by carefully tugging on each part. If it holds strong then congratulations! You’ve successfully glued your rubber pieces together.
Here’s a table summarizing the key steps for gluing rubber objects together:
| Step | Description |
|---|---|
| 1. Prepare the Surface | Clean and degrease the surfaces with rubbing alcohol or acetone to ensure good adhesion |
| 2. Determine the Adhesive | Choose the right rubber adhesive product for your project, based on instructions and warnings |
| 3. Apply Glue | Spread a thin layer of adhesive onto both surfaces that will be joined together |
| 4. Assemble the Parts | Put the two rubber objects together, using clamps or other tools to hold them in place |
| 5. Allow the Glue to Cure | Wait the recommended amount of time for the adhesive to dry and the bond to set |
| 6. Test the Bond | Test the bond by gently tugging on the parts to ensure they are firmly and securely joined |
Explore More
- Hot Glue on Fabric: 5 Types of Fabrics Hot Glue Definitely Works on
- Is Hot Glue Waterproof? 3 Easy Tests To Find Out
6 Different Types of Rubber and the Glues Used for Them
Understanding the different types of rubber and how to use them can be challenging. To help you out, we’ve put together a list of 6 types of rubber, with some tips on how to glue rubber to rubber.
1. Natural Rubber
Natural rubber is harvested from trees. Being harvested from trees make it strong, waterproof, and flexible. It also has excellent shock absorbency.
For gluing natural rubber to other materials or itself, a cyanoacrylate adhesive should be used as regular glues may not create a secure bond. It is often used in the following:
- Tires
- Seals
- Hoses
2. Neoprene Rubber
Neoprene is similar to natural rubber but offers better chemical resistance and does not harden due to age. For gluing neoprene rubber to itself or other materials, a cyanoacrylate adhesive or contact cement works best. It is used for:
- Seals
- Gaskets
- Insulation
- Electrical components
3. Silicone Rubber
Silicone rubber has excellent heat resistance, UV radiation protection, and electrical insulation properties. To successfully glue silicone to itself or something else (such as metal) an epoxy adhesive should be used. It is often used in automotive applications such as:
- Sealants
- Hoses
- Tubing
- Weatherstripping
4. SBR Rubber
SBR stands for styrene-butadiene rubber and is similar to natural rubber but with improved abrasion-resistance properties due to its slightly lower flexibility. It can be glued with a cyanoacrylate adhesive or contact cement. It is often used for:
- Industrial seals
- Hoses
5. Butyl Rubber
Butyl rubber is very resistant to chemicals, ozone, UV radiation, and air pollutants. To glue butyl rubber to itself or other materials epoxy should be used. It is popular for automotive applications such as:
- Inner tubes
- Tire sidewalls
- Gaskets
6. Nitrile Rubber
Also known as Buna-N, nitrile rubber is a synthetic rubber. It offers excellent abrasion resistance and good protection against oils, greases, and fuels. So an oil-resistant epoxy or cyanoacrylate adhesive should be used to glue it to itself or other materials. It is most often used in:
- Fuel hoses
- Gaskets
By understanding the different types of rubbers available, you’ll have a better idea of which type will work best for your project and how to securely glue it.
Explore More
- Hot Glue Without a Gun: 5 Amazing Methods to Use Hot Glue
- How Strong is Hot Glue? 5 Tests to Determine its Strength
List of Best Glue Brands to Bond Rubber to Rubber
Rubber-to-rubber bonding can be a tricky process. But with the right glue, you’ll have your project up and running in no time! Here is a list of the 6 best glue brands that will make your rubber-to-rubber bonding projects fast and easy:
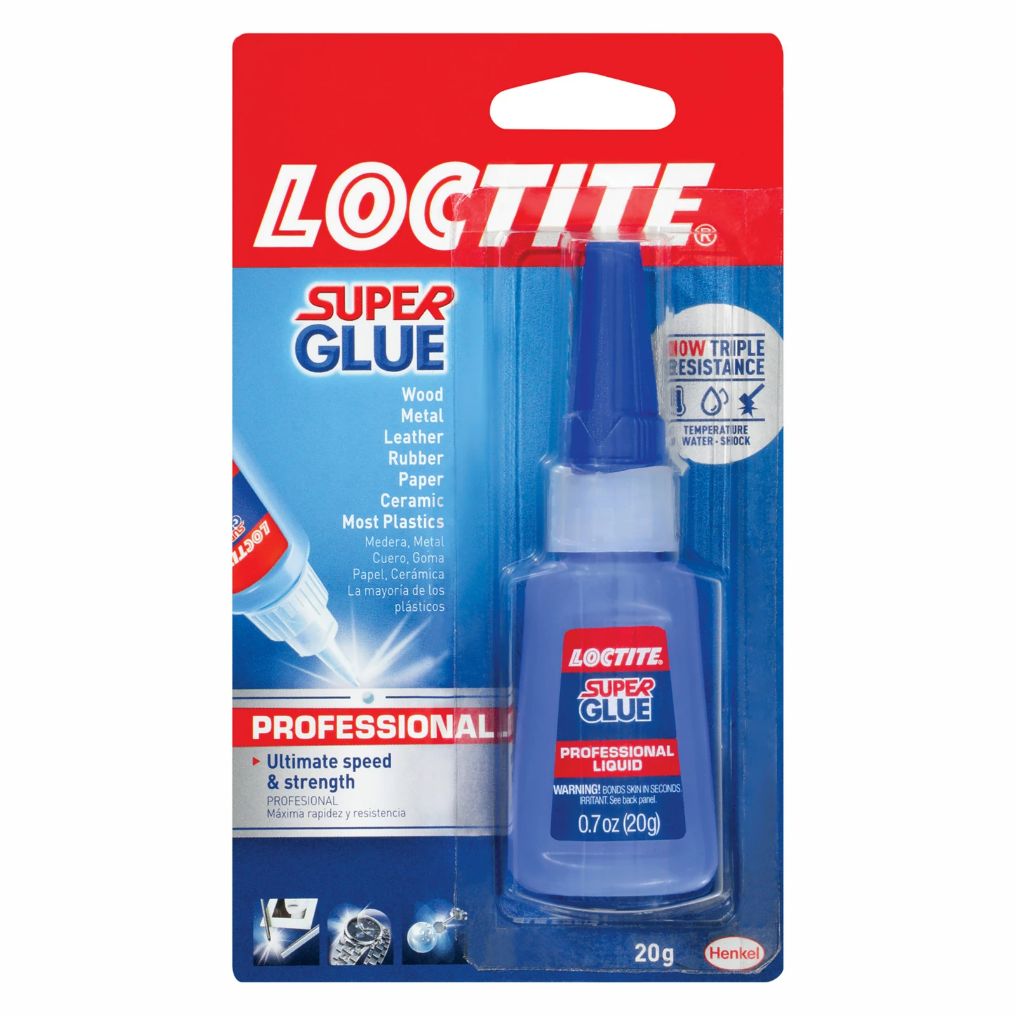
1. Loctite Super Glue Liquid Professional
This one works well for high-strength bonds. It gives a fine transparent finish when dried. It comes with an applicator for precise application and dries quickly. It is suitable for both porous and non-porous materials such as rubber, wood, and plastic.
Key Features
- Fast curing
- Chemical and moisture resistant
- Non-dripping
- Non-oozing
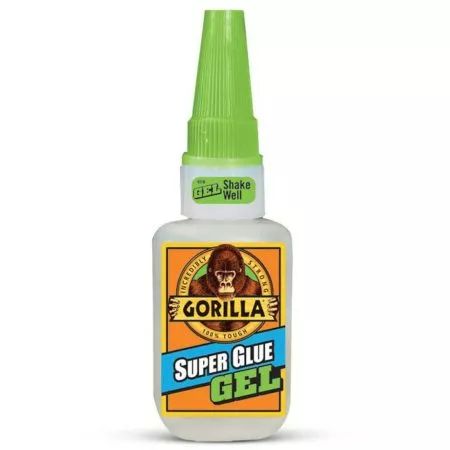
2. Gorilla Super Glue Gel
This product has unique anti-clog technology to help prevent clogging of the container nozzle so it lasts longer. It also contains strong impact-tough formula making it ideal for items that get knocked around often like kids’ toys or tools. It forms a strong bond with materials like rubber, metal, stone, ceramic, plastic, leather, etc.
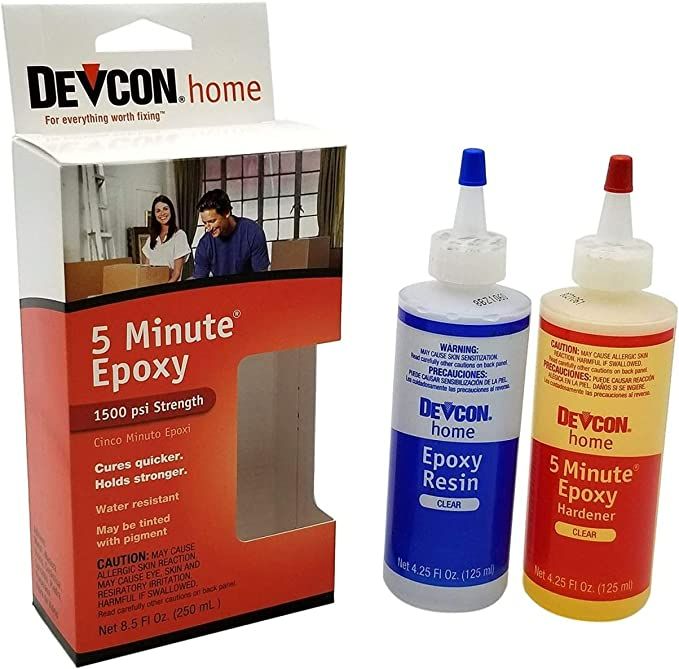
3. Devcon 5-Min Epoxy
Devcon 5-Minute Epoxy is a two-part adhesive with exceptional curing strength and resistance to chemicals. It sets in five minutes, allowing users to quickly and securely fix, bond, or repair a wide range of materials such as rubber, concrete, metal, and wood.
Key Features
- Non-flammable
- Non-shrinking
- Waterproof
- Highly resistant to impact and vibration
4. E6000 Craft Adhesive
This flexible adhesive is perfect for various craft projects like gluing fabric and Felt pieces together or even attaching rhinestones or silicone pieces onto another material. It forms a permanent bond that won’t crack or break down with the heat of an iron. It is perfect to bond with rubber, leather, fiberglass, concrete, and fabric.
- Dries clear
- Paintable
- Won’t crack or yellow
- Non-flammable once cured

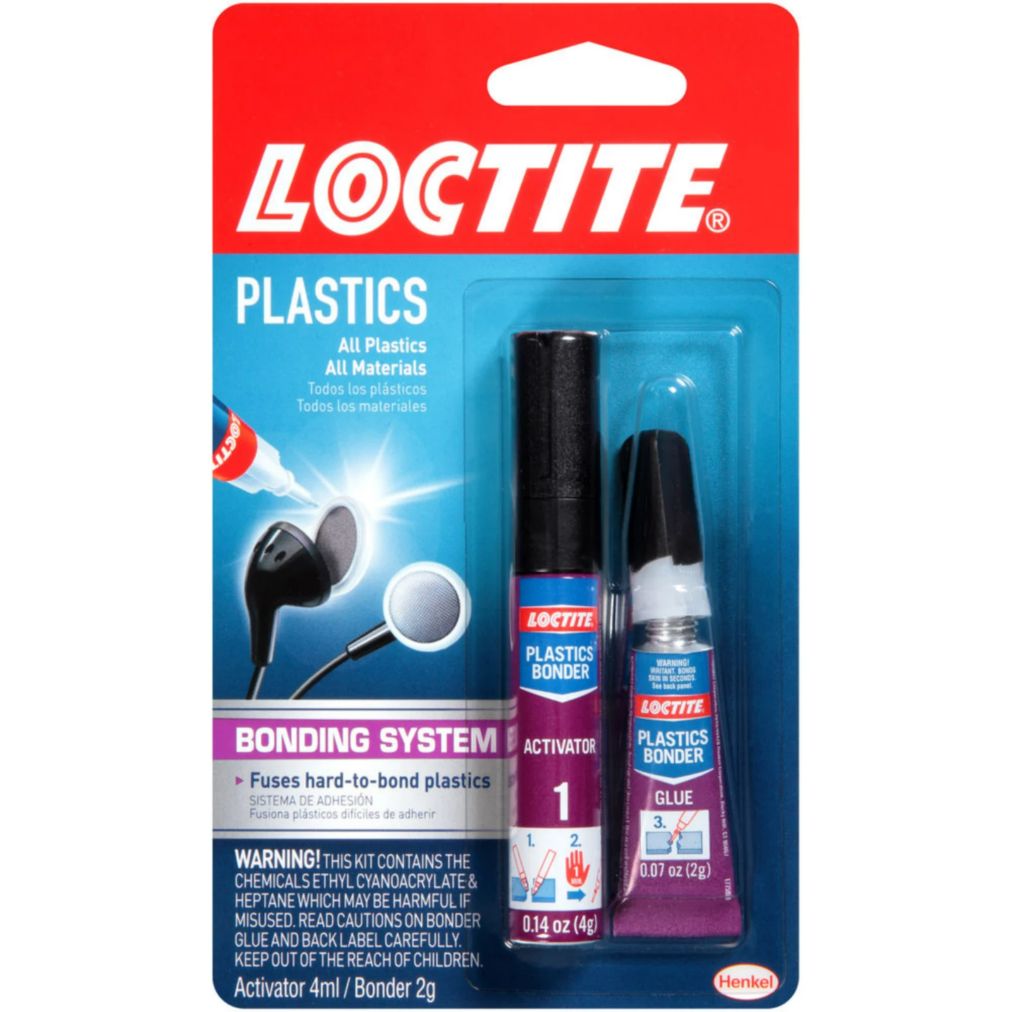
5. Loctite Super Glue Plastics Bonding System
This product sets in 10 seconds and provides strong adhesion in difficult-to-bond plastics including polyethylene and polypropylene. It works well for outdoor projects and can bond items up to 1 inch thick. It is compatible with the following materials like rubber, leather, cork, ceramics, paper, and wood.
Key Features
- Strong bond
- Fast curing
- Dries transparent
- Water and chemical resistant
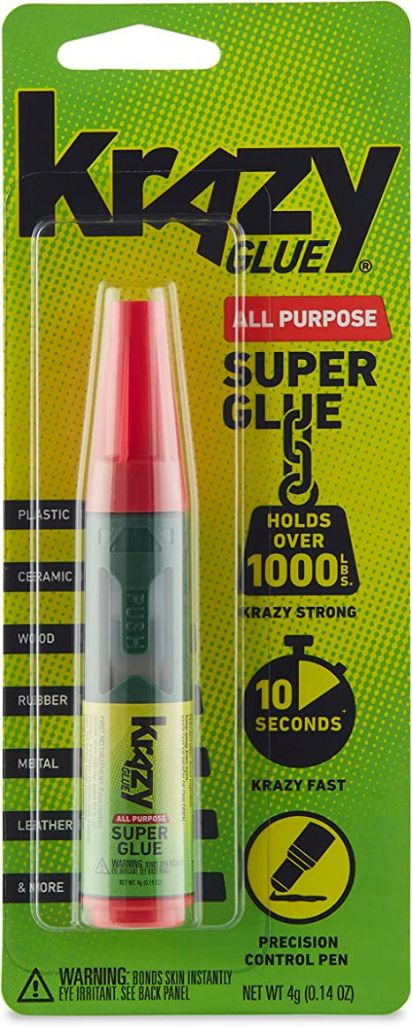
6. Krazy Glue All Purpose
This glue is water resistant so it won’t let go when exposed to moisture or humidity. It also forms an instant bond in just seconds and can be used on a variety of materials including rubber, plastic, metal, ceramic, and wood.
Key Features
- Strong bond
- Waterproof
- Dries clear
- Comes with a precision control pen
Health Hazards When Gluing Rubber to Rubber
When using industrial adhesives such as epoxies and contact cement, breathing in the fumes created by these products can cause health problems. Additionally, working with solvents like acetone or toluene and vapors from certain solvents may lead to:
- Skin, eyes, and lungs irritation
- Dizziness
- Nausea
- Unconsciousness
Important Precautionary Measure When Gluing Rubber to Rubber
By taking the necessary precautions and familiarizing yourself with the different types of adhesives available, you can ensure that your project is completed safely and successfully. Moreover, when handling materials and processes like gluing rubber to rubber it is important to use safety gear such as:
- Protective eyewear
- Gloves
- Face mask
- Work in a well-ventilated area
FAQS
1. Is rubber glue waterproof?
Rubber glue is also called rubber cement. When it dries it is waterproof and flexible. It can be used on surfaces including rubber, glass, leather, and ceramics.
2. Is rubber glue flammable?
Yes, rubber glue is flammable and it is not allowed in checked baggage or carry-on.
3. How long should I wait before applying pressure to the rubber?
Once you have applied the adhesive, you should wait at least 8 hours before applying pressure to the rubber. The adhesive needs time to dry fully and create a strong bond between the two pieces.
Depending on the type of adhesive you have used, it can take up to 24 hours for the bond to fully cure and be ready for use.
4. How should I prepare the rubber before gluing?
Make sure both surfaces of the rubber are clean and free of any dirt, dust, or debris. Then use soap and water to ensure the surface is clean before applying adhesive. If the rubber is in two pieces, you can use sandpaper to gently roughen up the surface of each piece.
5. What type of adhesive should I use to glue rubber to rubber?
The best type of adhesive to use for gluing rubber to rubber is a rubber-based adhesive. Some examples of rubber-based adhesives include silicone adhesive/sealant, neoprene adhesive, or EPDM adhesive.
Make sure to read the product labels to make sure the adhesive is suitable for your project.
Conclusion
As we have seen, the process of gluing rubber to rubber isn’t complicated, but it does require careful preparation and precision. It’s important that you review all the necessary steps before embarking on the task of gluing rubber to rubber.
With the correct guidance and application, you should now be able to glue rubber to rubber with ease and confidence. If there is any hesitation about handling the process yourself always consult a professional for expertise and assistance in making sure your mission succeeds.